5 simple steps to make your at-home gel manicure last longer
Thanks to all the tutorials that can be found on YouTube and TikTok, doing your own gel nails at home has never been easier. With an at-home mani, you don’t have to worry about spending all day at the salon, and you can customize your nails to your liking. However, getting a salon-worthy set of gels that last as long as when done professionally can be challenging. Luckily, you can prolong your manicure from the comfort of your own home by not skipping some important steps. Scroll through as we give you the lowdown on how to make your gel mani last longer.
MORE: The healthier alternative to acrylic nails will your finger tips
Buff your nails

Anything in excess can be quite damaging — and buffing your nails is no exception. Over-buffing can result in brittle, paper thin nails that break easily. However, when done correctly, there are a lot of benefits to buffing. Buffing the nail plate is key to creating a clean surface for gel polish to adhere to. It removes any excess oils that can build up on the nail and smoothes out bumps that may cause the polish to crack or chip easily. Of course, it’s important to be gentle when doing this step and use a fine grit buffer block or a nail buffer attachment like found on the Finishing Touch Flawless Salon Nails tool set.
Prep your cuticles

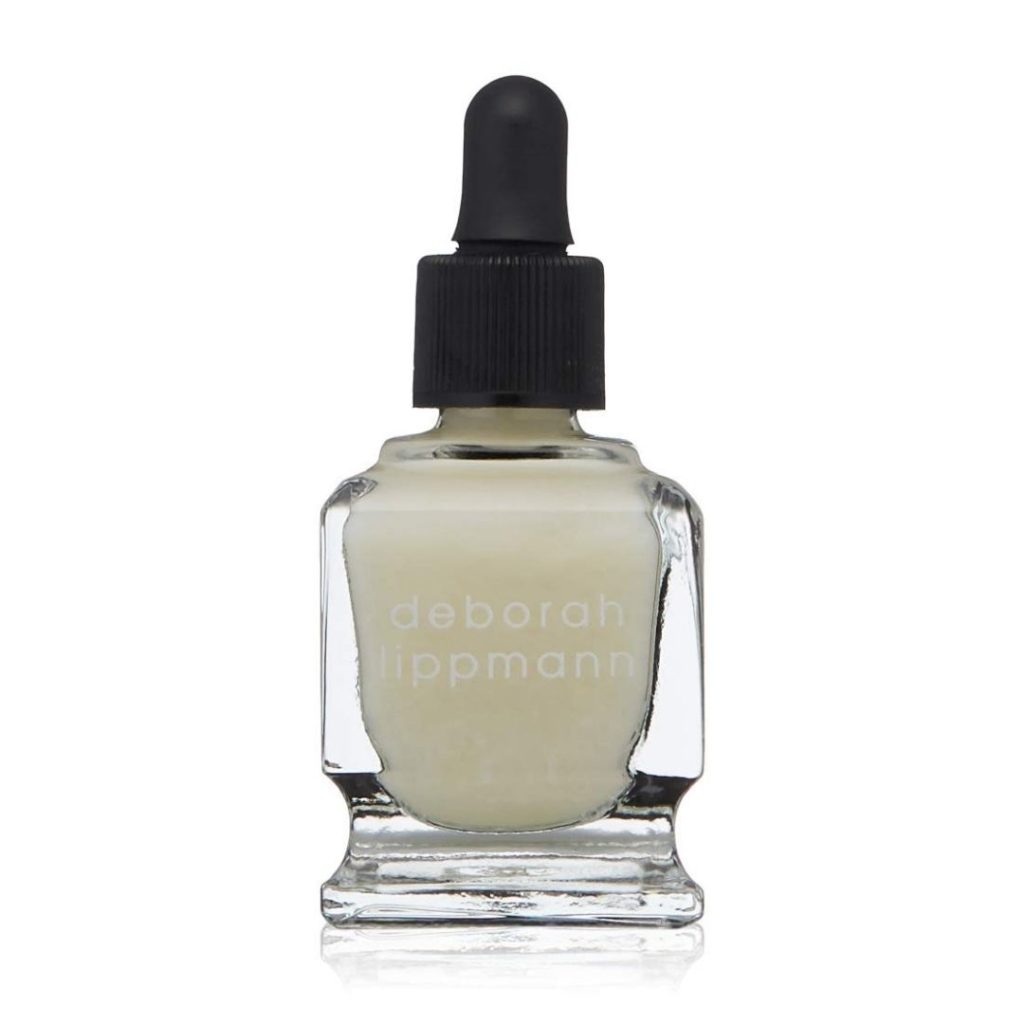
Like the skin on your face, your cuticles also deserve some love. When we are prepping our nails for a long-lasting gel mani, we want to make sure our cuticles are pushed out of the way. This prevents the polish from getting on the cuticles, which results in lifts and chipping. While you may be tempted to cut your cuticles during this step, it’s important you avoid cutting them as they provide a protective barrier for both your nail and skin against infection. Using a product such as Deborah Lippmann Exfoliating Cuticle Nail Treatment helps loosen and remove dry skin to make it easier to push the cuticles.
Prime the nails
Like your makeup, the first step before applying any products to your nails is to prime. While this step is optional, and many tend to skip it and start with a base coat, it ensures stronger adhesion between the natural nail and the polish. Primers are designed to remove any oils and grease from the nail plate while also preventing air bubbles from forming when the polish is applied. Note: It’s important to allow the primer to fully dry before applying your base coat.
PLUS: Take your manicure to the next level with these floral nails
Keep your cuticles hydrated

While properly prepping your nails before a gel manicure is vital to increasing its longevity, your post-care routine is just as important. In addition to delivering moisture to parched cuticles, cuticle oils are used to hydrate and strengthen the nail to prevent breakage. It gives the nail bed and the surrounding skin a little extra TLC to help the manicure last longer. If you’re looking for an oil that’s vegan, nourishing, and easy to use, look no further than Nails INC. NailKale Superfood Nail Oil Capsules. Formulated with jojoba oil, vitamin F, and celery extract, this cuticle oil gives your cuticles a punch of hydration anywhere you go, thanks to its capsule packaging.
Moisturize hands

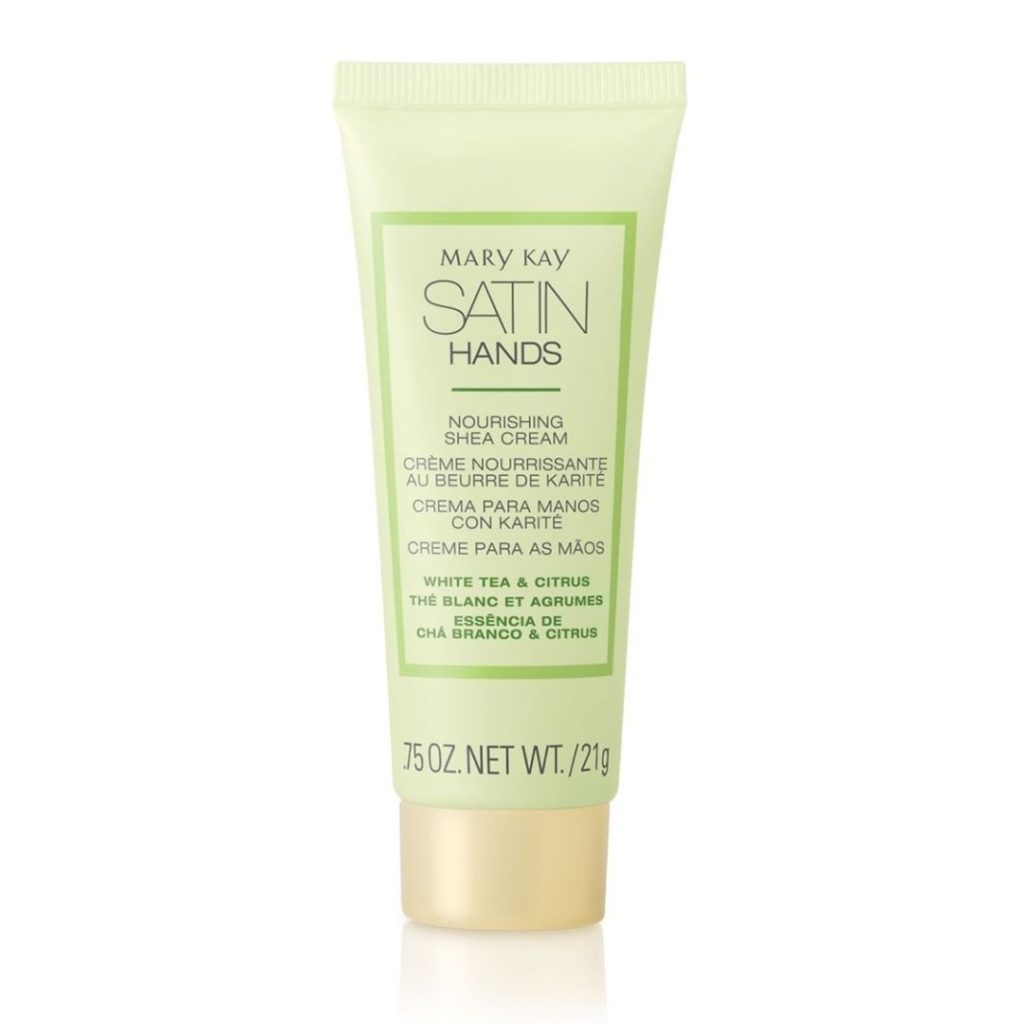
Of course, your cuticles aren’t the only thing that needs some serious moisture. Keeping your hands moisturized also prevents your nails and cuticles from being dehydrated, leading to breakage and splits. Mary Kay’s White Tea & Citrus Satin Hands Nourishing Shea Cream is a great hand lotion to provide instant hydration relief at all times. Its formula makes even the driest, cracked hands feel and look smooth.


